
Creating tiered garments

For tiered garments, every tier must be longer than the one above which allows the volume to fan out as the panels are added.
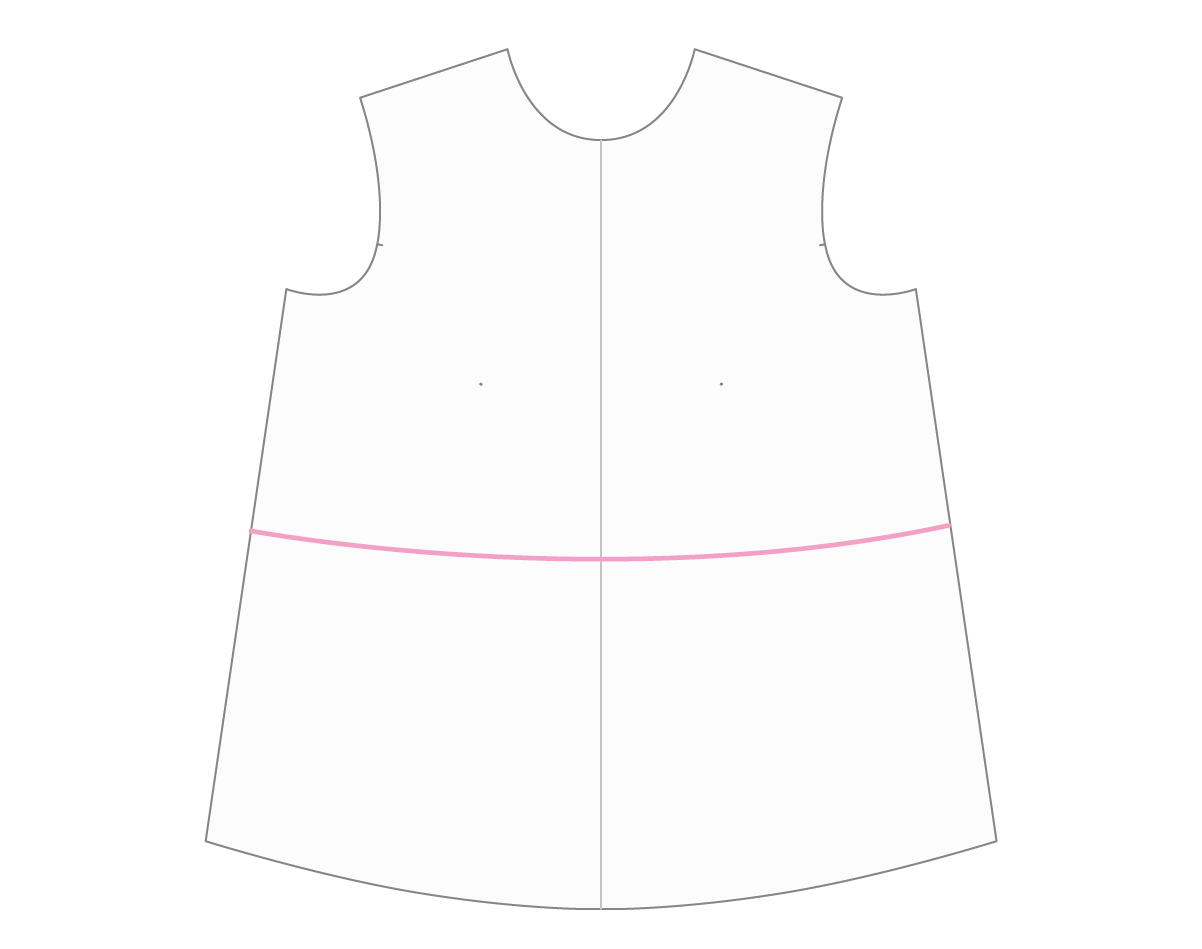
1. Prepare the pattern
If necessary, trace off the pattern without seam allowance. Add the first panel line where you’d like the gathered tiers to start.
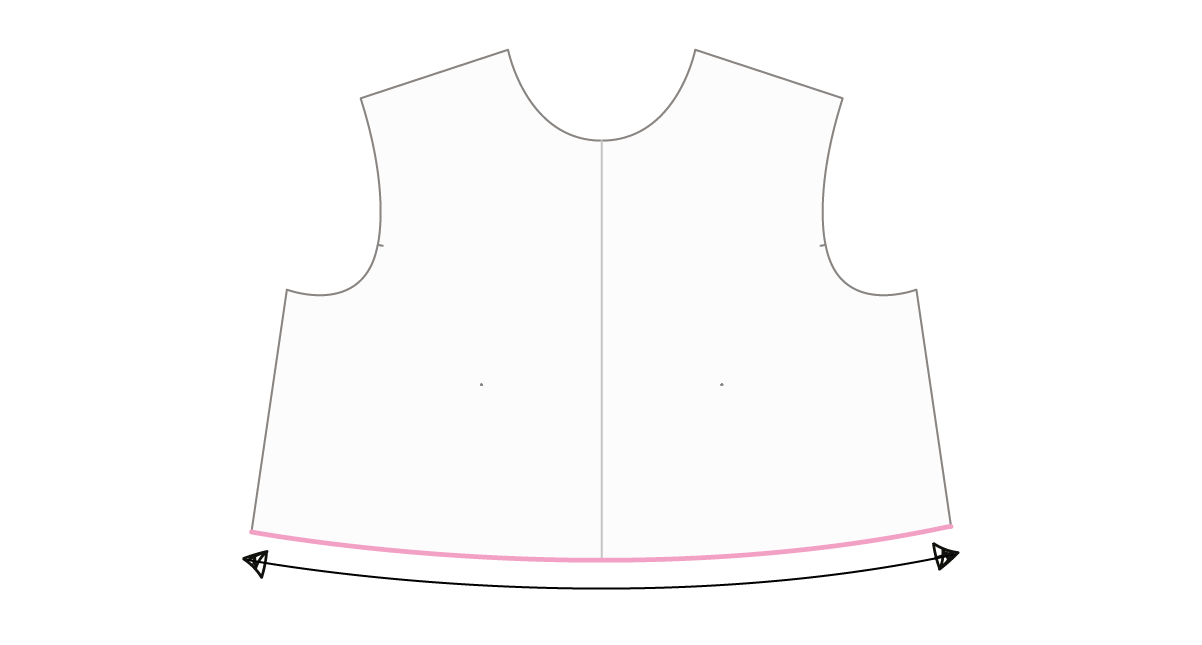
2. Record Measurement
Cut through the seam line and discard the bottom layer. The tiered panels will replace it instead. Measure the hem of your pattern piece. Let’s call this measurement A.

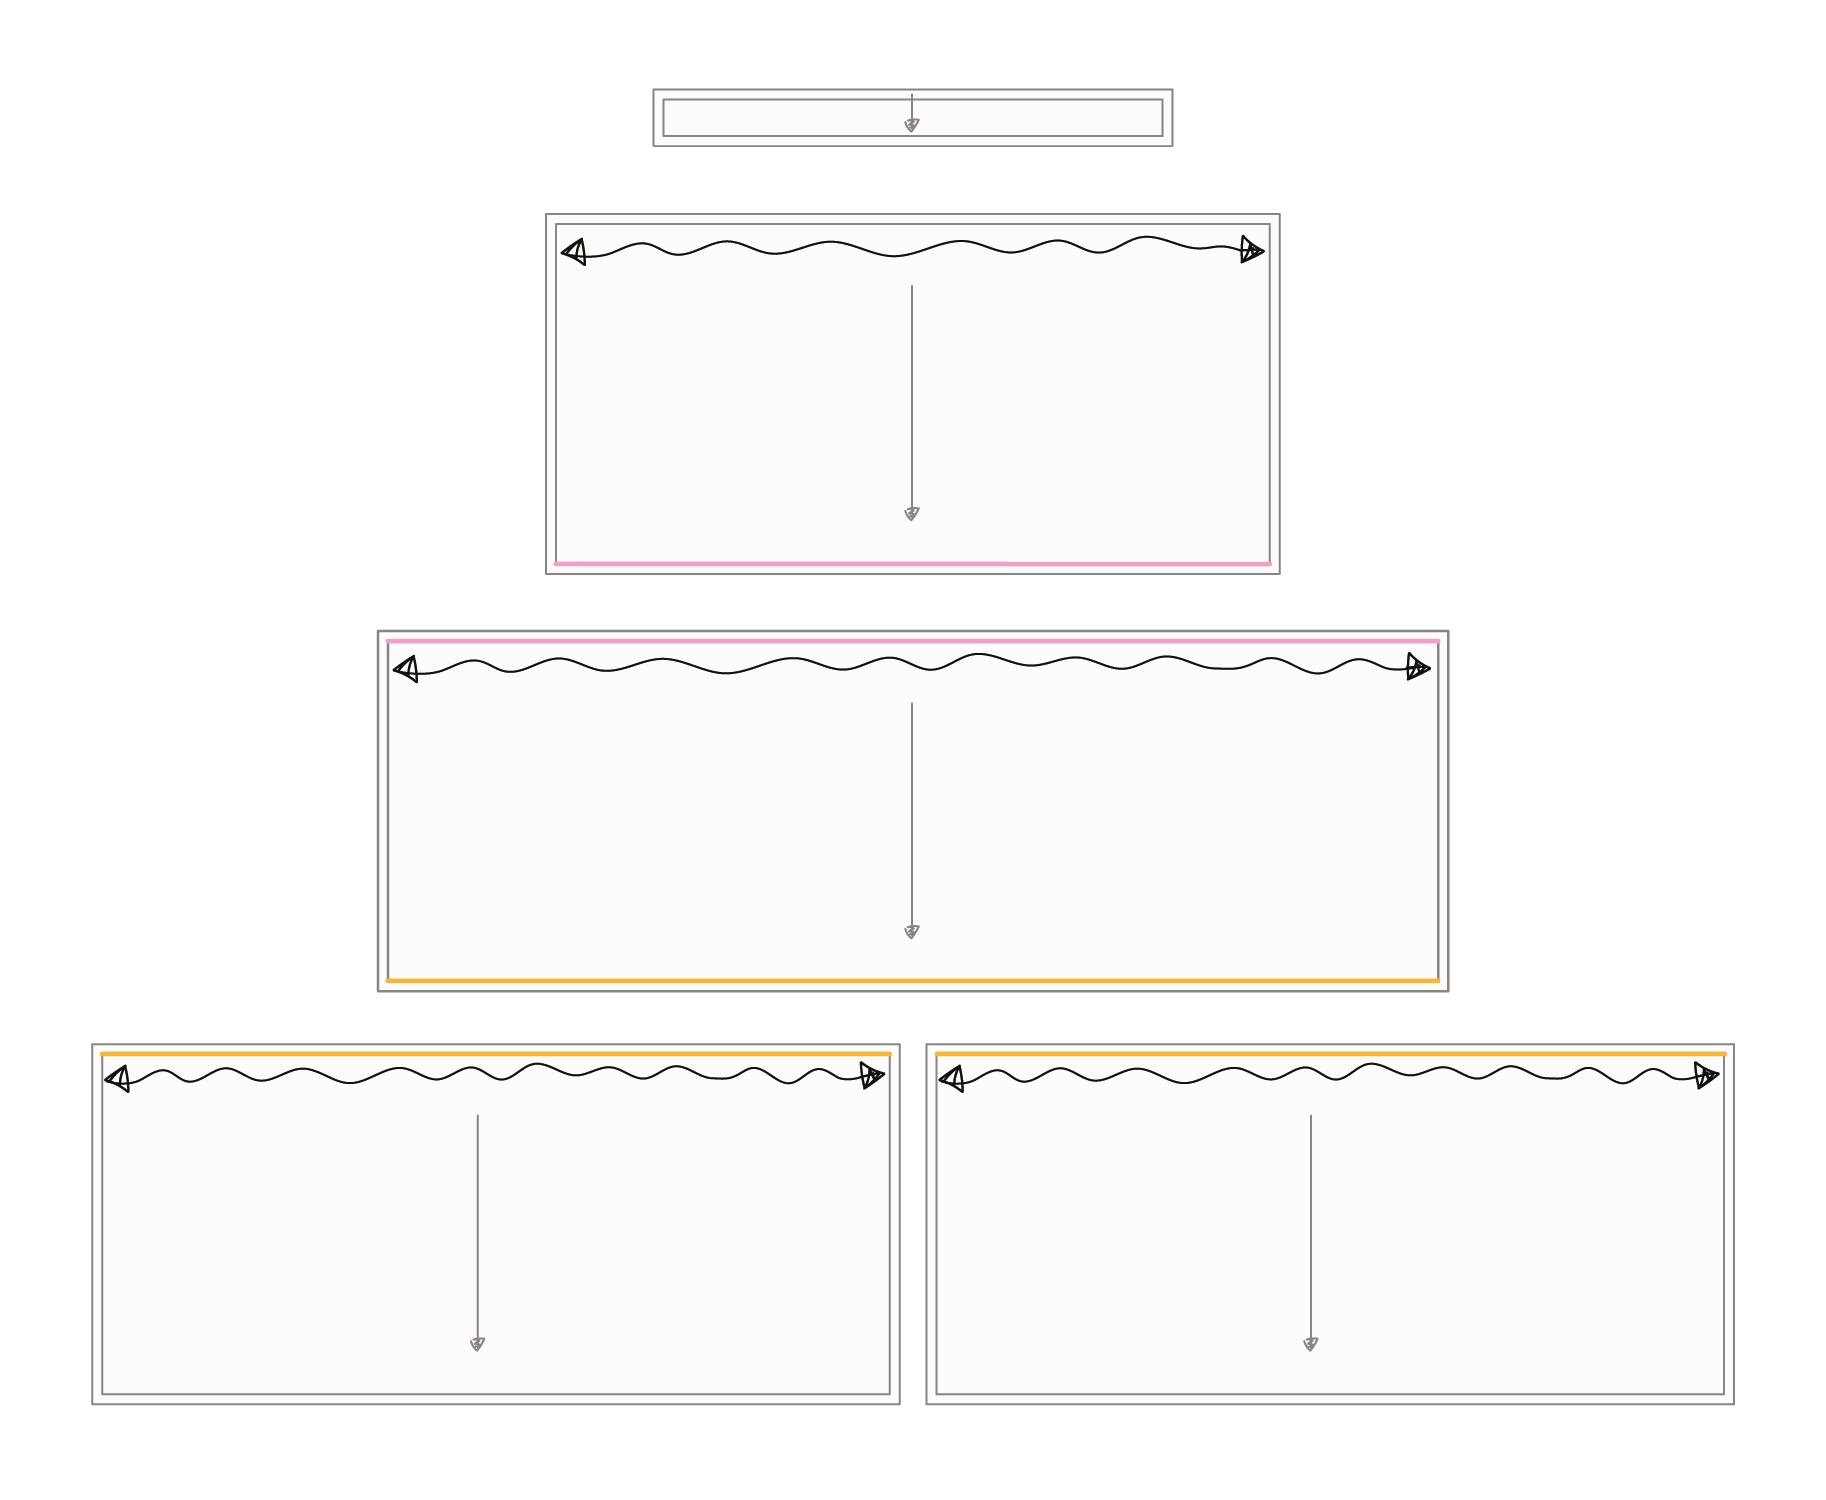
3. Create tier 1
Draw a rectangle to determine the length - multiple measurement A x1.5
(or the ratio of gather you’d like).
The rectangle should be the height you’d like the 1st gathered tier.
Once sewn, this piece will gather into the top panel.

4. Record Measurement B
Measure the hem of Tier 1. Let’s call this measurement B.

5. Create tier 2
Draw another rectangle. To determine the length - multiple measurement B x 1.5. The rectangle should be the height you’d like the 2nd gathered tier.
Once sewn, this piece will gather into tier 1.
NOTE: If the measurements get too big, you can multiply by 1.25 instead. You’ll likely need to add a seam to this panel. Consider waiting until you’ve completed the back pieces and adjusting the seams to fit your fabric widths. For example, you may have three panels on the bottom layer instead of 4 smaller ones.

6. Finish the pattern
If necessary, trace a copy of the pattern. Transfer all the information, notches and grainlines. Label the pattern, add cut instructions and seam allowance.
Don’t forget to add your gather instructions onto each of the patterns. You can add the measurements or write ‘Gather to Tier 1 hem’.
Other tiered garments

Skirt with tiered panels
You can use the ‘Creating tiered garments’ tutorial to add tiered panels to any pattern. Below is a tiered skirt example, keeping the waist fitted.
Tiered rectangle skirt - with elasticated waist
To add gather into the first panel. Use the waistband measurement (a straight or curved waistband) for measurement A. You may add less than X1.5 for the first tier. Just make sure it is at least as big as your hips plus ease, so it sits comfortably on the hips.
Want to get inspired on how to use your new skills?
Check out last week's blog with all the dreamy tiered garment inspiration.
